Topic: Bypassing
Heres another old video worth sharing:
This was supposed to be a plug puller demo for a local locksmith training course... but didnt end as planned.
You couldnt make this stuff up!

| « | July 2010 | » | ||||
| S | M | T | W | T | F | S |
| 1 | 2 | 3 | ||||
| 4 | 5 | 6 | 7 | 8 | 9 | 10 |
| 11 | 12 | 13 | 14 | 15 | 16 | 17 |
| 18 | 19 | 20 | 21 | 22 | 23 | 24 |
| 25 | 26 | 27 | 28 | 29 | 30 | 31 |
If you deal with any particulat lever lock on a regular basis it may be worth investing some money in a decoder / make up key kit for that lock.
They are fairly exspensive but can save a lot of time when compared to picking or drilling open the locks.
These decoder kits can read the levers in the lock.
The decoder for the securefast locks reads the levers by the height which they are lifted which then corresponds to a cut depth.
Here is a demonstration by a local locksmith in Middlesbrough that encounters securefast 5 lever locks on a regular basis.
Important things to note:
- Make sure to place the pins in the correct slots in the blank.
- When no pin is required remember to leave that part of your blank empty and not insert the next pin into that hole.
- When cutting a key from the make up key remember to reverse the cuts for the rest of the key.
Looking through some of my old pictures I came across a few i took whilst experimenting with drilling certain locks.
First
A method you can use to open the Kaba dimple cylinders:
The Kaba cylinders consist of a self contained unit housed in the lock body. This is held in by a hard steel grub screw. (This is usually sealed over with a resin)
Once that is removed the whole unit will turn, regardless of being picked or not.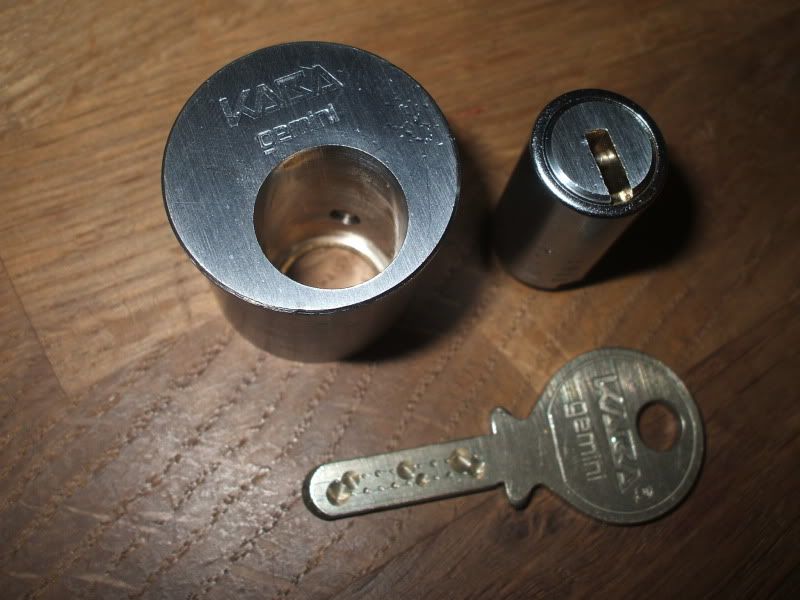
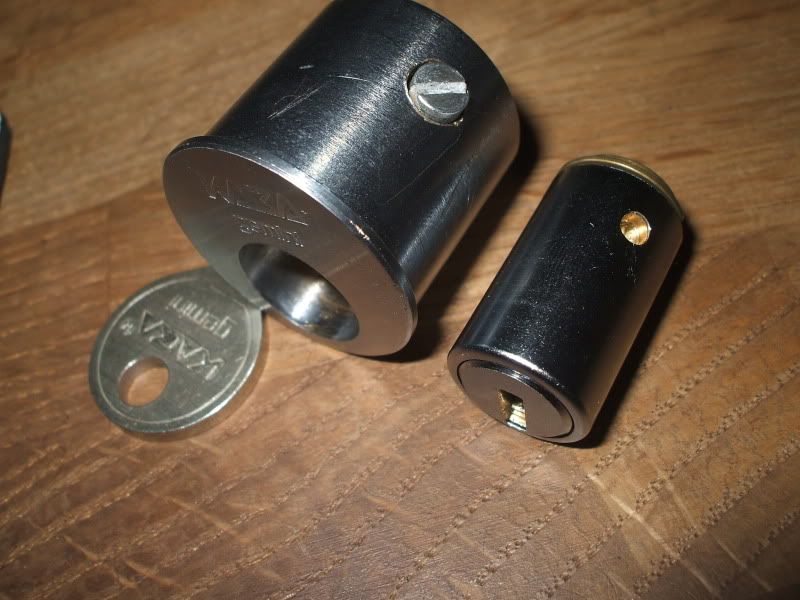
As you can see above, the grub screw in a traditional shaped cylinder is located at approx 45 degrees clockwise. In a euro/oval profile the grub screw is directly beneath the plug.
You will need a hard plate drill or two to break the grub screw as its hard grade steel, drill using slow drill speed with plenty of force!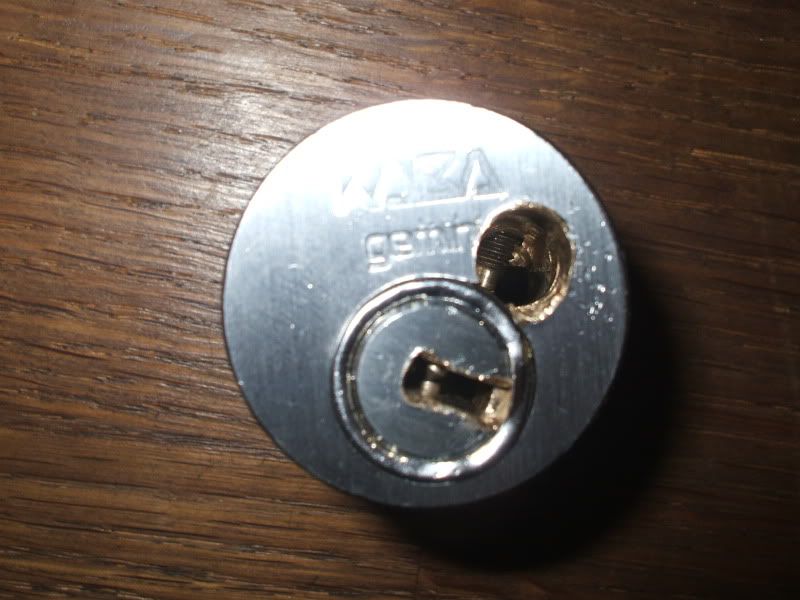
Once the grub screw is out of the picture the lock can be opened with a flat blade screwdriver. It may take a little force as the end of the grub screw may remain in tact but will fall loose quite easilly.
Proof that it works: A jammed/broken key situation, it required a little drilling in the keyway just to make room for the screwdriver blade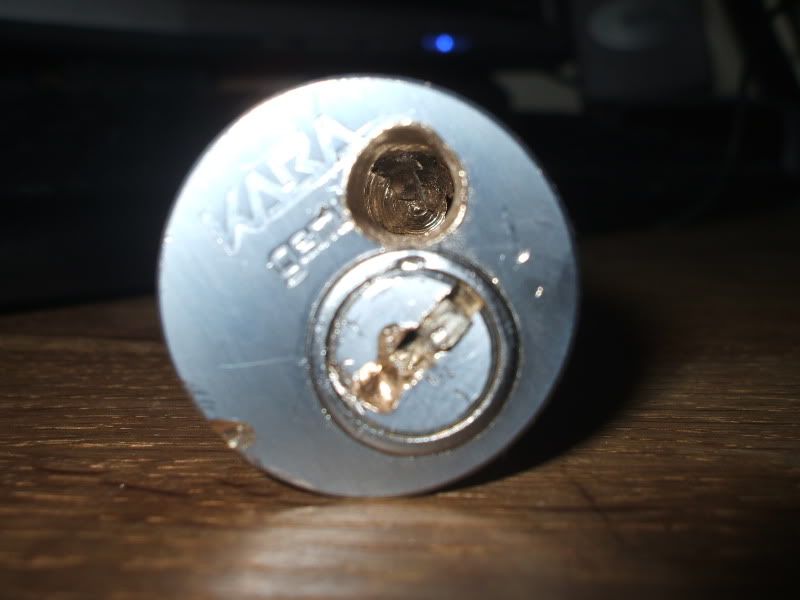
---------------------------
Secondly
A relative; a locksmith for a large gaming firm gave me a few abloy knockoff cam locks a while back to see if there was a better way to open them quickly, without running a huge drill down the center and ripping out the guts.
As most rear tensioning disk detainers these little locks were almost impossible to pick so a neat destructive bypass technique was needed.
I decided the best method would be to locate the sidebar position, drill a small 1/8th hole and remove from the lock.
After dismantling the lock i located the sidebar:
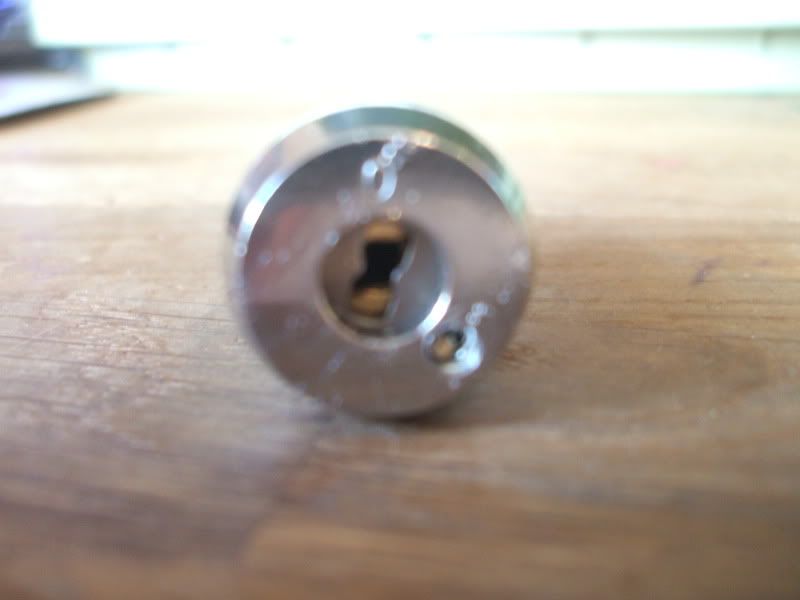
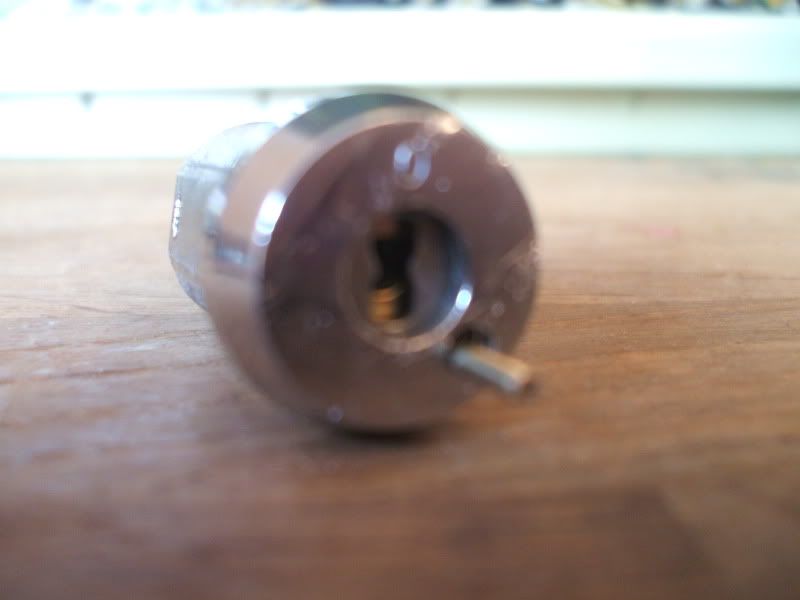
Rick | Walsall Locksmith
Iv always been a bit wary about buying expensive curtain picks. I just cannot justify shelling out hundreds of pounds for a few pieces of machined stainless.
Im sure im not the only one, therefore im happy to share another alternative:
A local locksmith that runs a training course nearby took the time to design some simple picks and have them machined at a local engineering firm.
These picks are cheap and simple, made from toughened steel they will never break or round off at the ends.
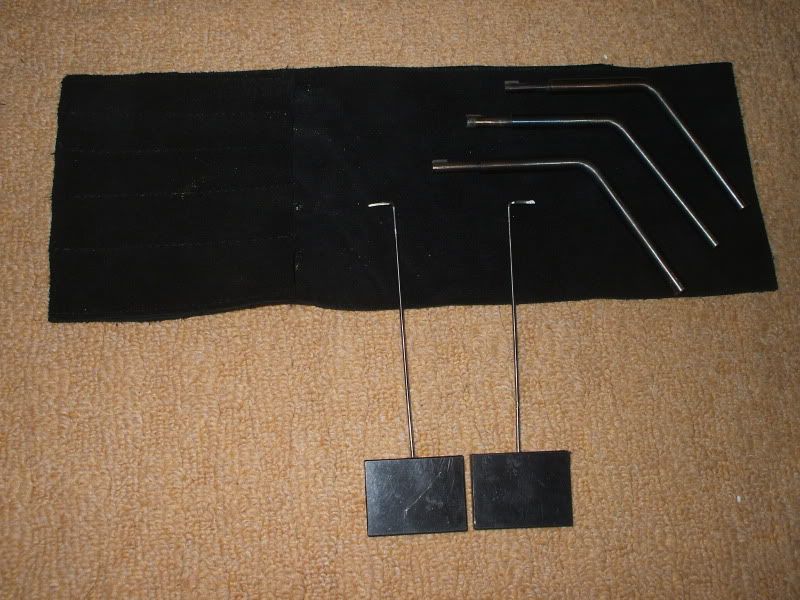
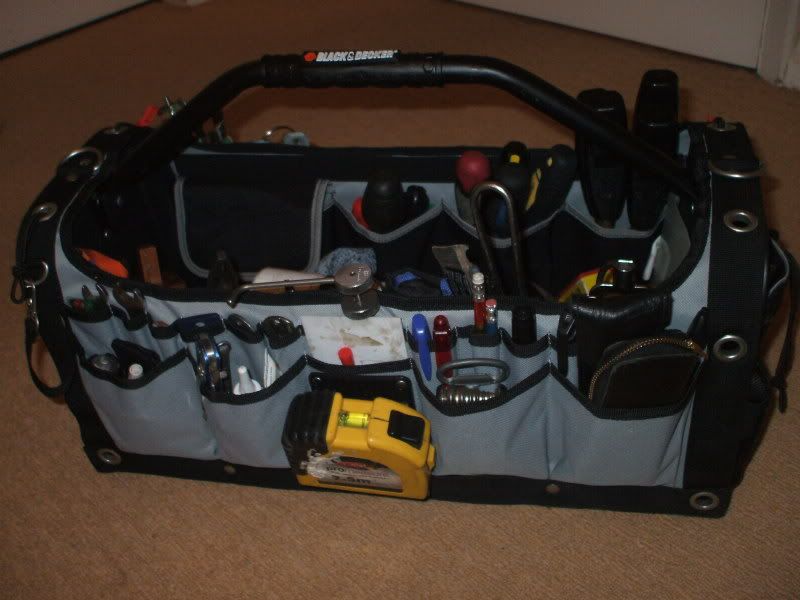
I have used these picks since he started producing them i even have a couple of the early prototypes in my toolbag and use them frequently when opening lever locks.
The set i own has five, six and seven gauge tools complete with standard and low bellied picks for reaching under the low hanging levers. All comes in a leather pouch.
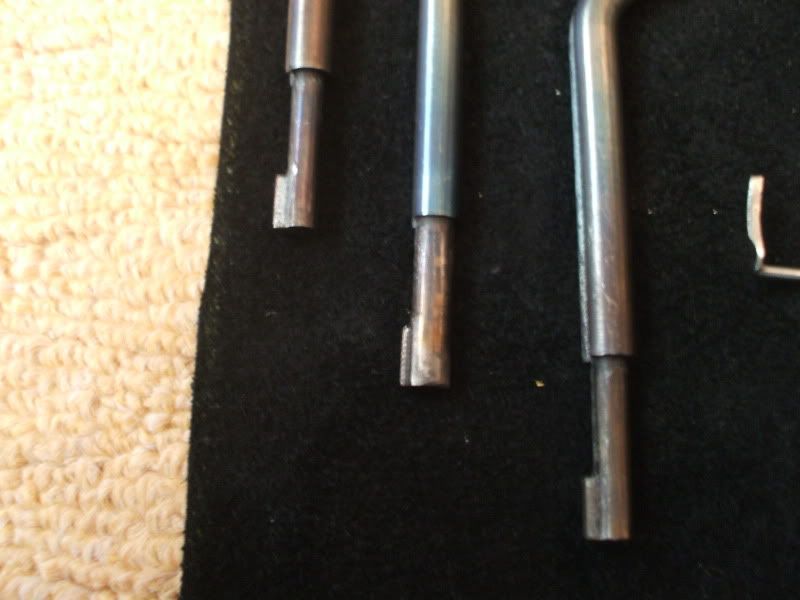
Heres a few old locks i picked with the set a while back whilst testing the tools:
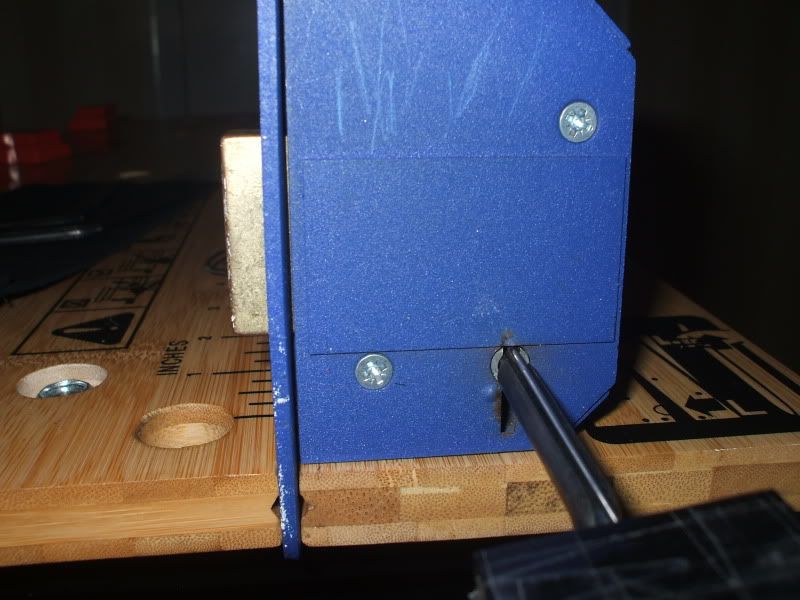
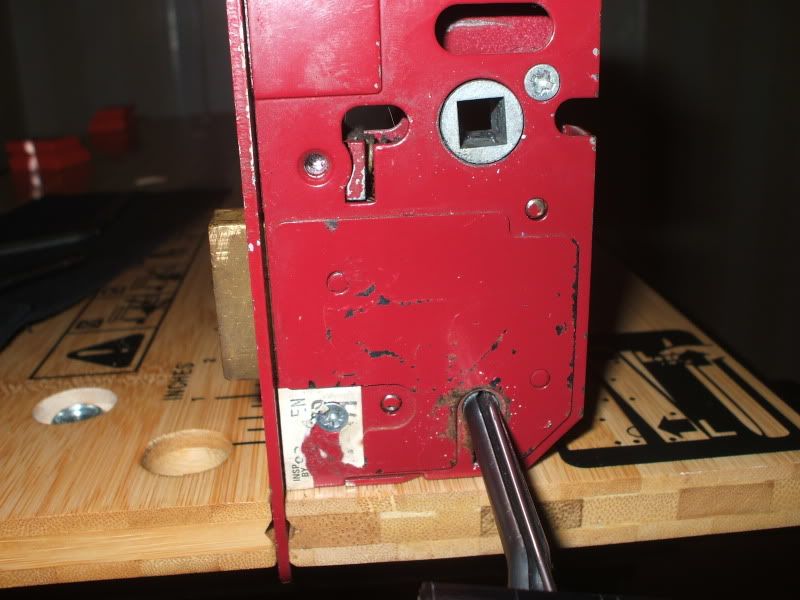
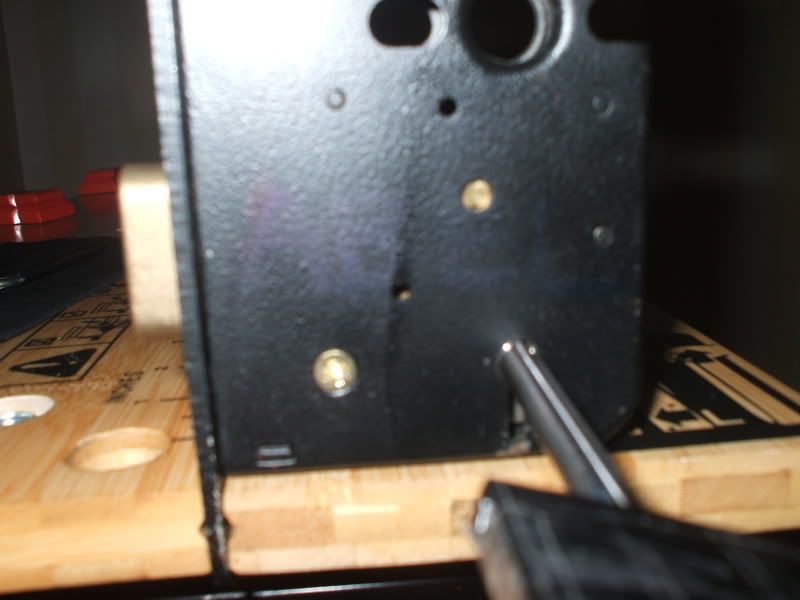
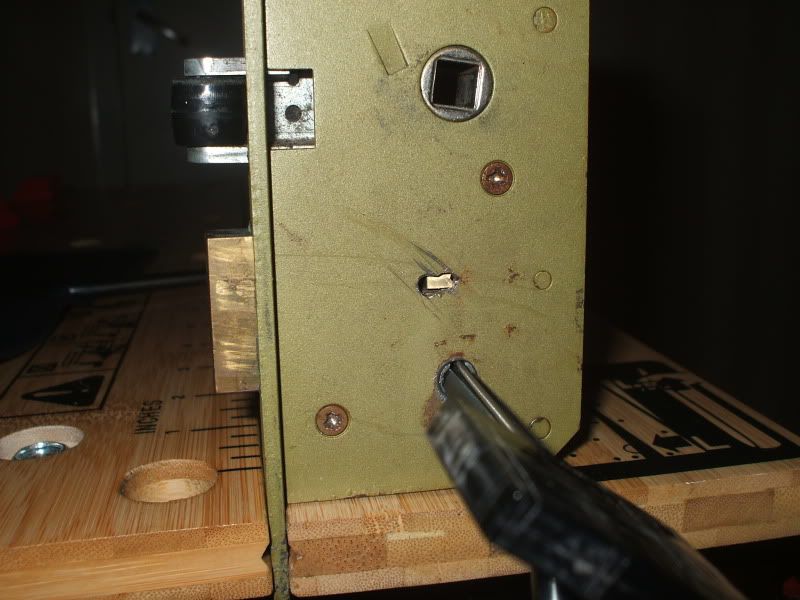
The whole set comes in at just over one hundred pounds!
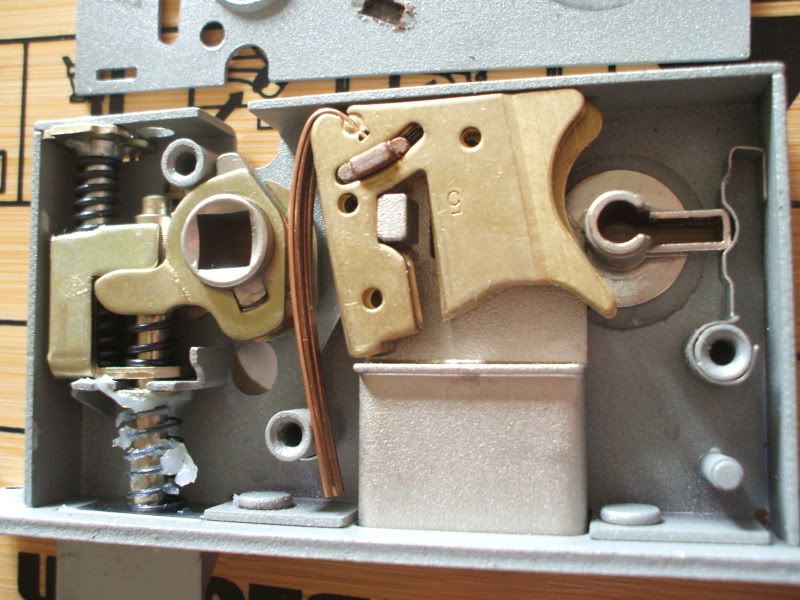
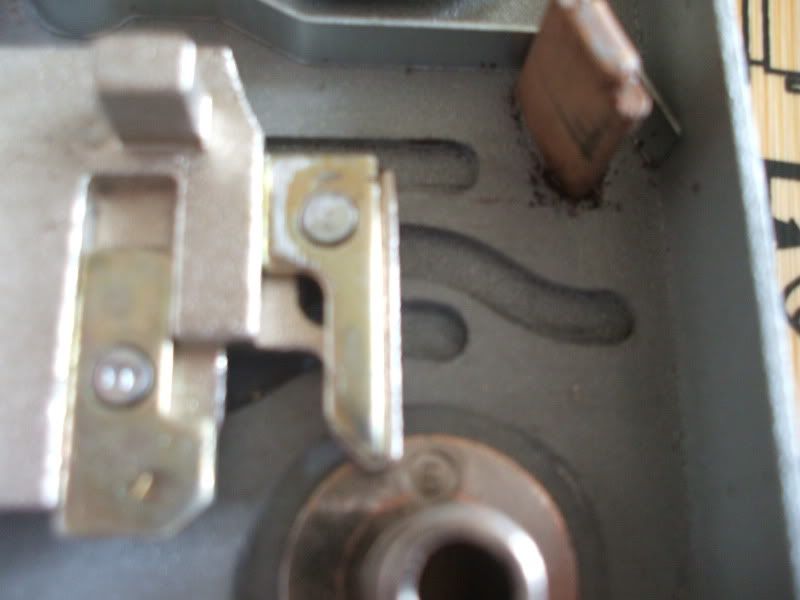
I took a quick picture of the inside of an old chubb safe i worked on just to show how the tamper mechanism works.
Older safes were prone to a destructive attack whereby the lock was hammered away from the face of the safe..
In this case a bracket is affixed to the back of the lock which holds a large ball bearing in recess.
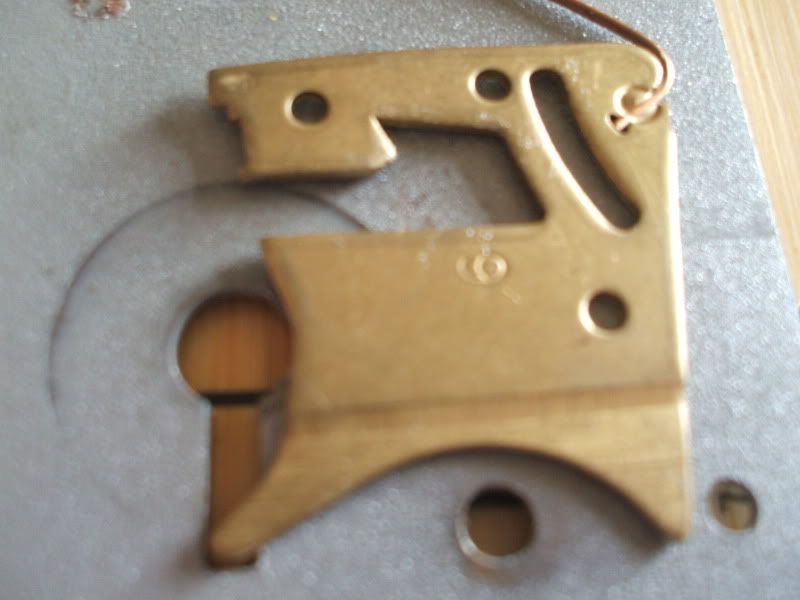
Hooped around this Ball bearing is a wire attatched to a spring loaded deadbolt. (pictured bottom left)
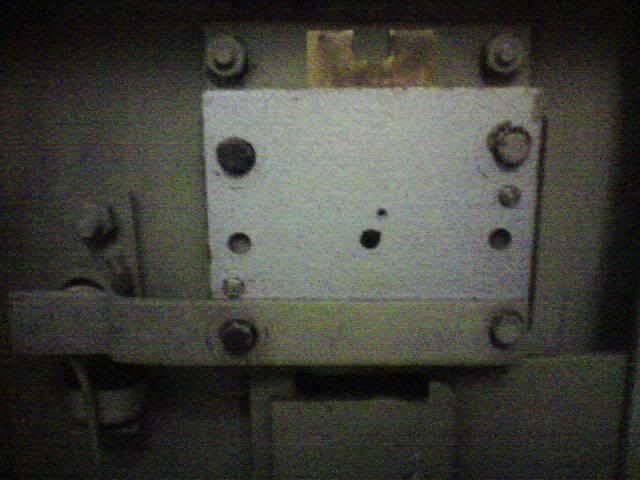
When the lock is forced backwards the ball bearing is dislocated and allows the spring loaded bolt to engage, securing the safe.
This mechanism can also be triggered in old safes that have never been serviced and parts may have come loose.
A customer will usually describe the 'PING' of the ball bearing landing in the cup below it when calling a locksmith regarding their safe failure.
Sifting through some old videos I have and i came across this one i filmed for a local locksmith training school.
This is a locksmith called Shane teaching students how to open lever locks suffering from long term wear and tear.
Bumping a lever lock!?
Watch the video for an excellent demonstration of this handy little trick that can save you a lot of time!
There are many forms of the mechanical digital lock. Although a lot of them are quite vunerable to manipulation techniques such as button feeling. This Guide for example shows how to manipulate the combo dial padlocks by Master.
Most locksmiths carry around a list of permutations (linked below) for the xyz digital locks, it can take a while but it will work providing the lock isn't faulty.
However i discovered a nice little web-tool that allows you to calculate all the permutations for other variations of mechanical locks. (Or any other mathematical problem)
If you encounter a lock that has no distinguishing button marks you can write next to them in pencil for reference
...and just for your info heres the list for the xyz locks, remember to prefix with a C
Another alternative is the xyz tool but from experience i have found it awkward to use and can make a mess of the door being so sharp round the edges.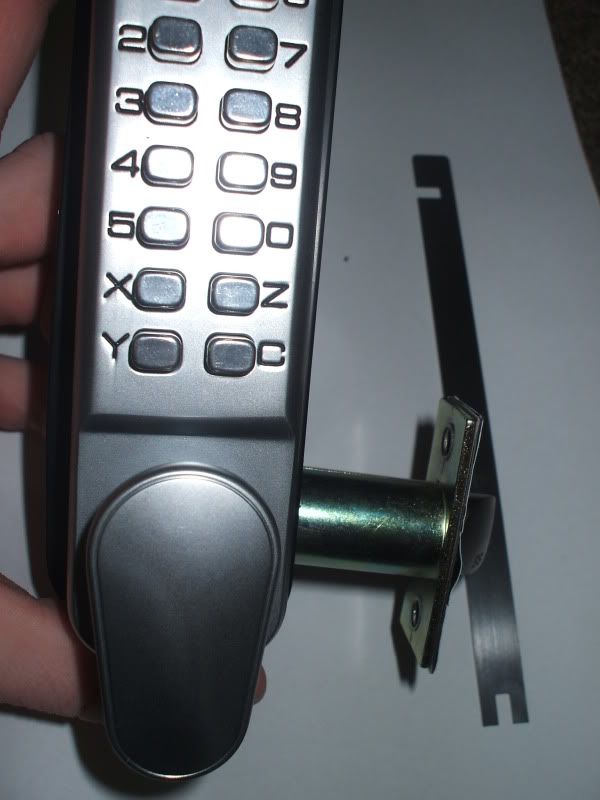
What i have noticed when dismantling and code changing is that 90% of the time you have three active buttons on the right set of digits and two on the left (When looking from the rear of the lock). This means our code list could be optimised with those combinations first in our list to save time! However i havent found the time to re-arrange the list yet so you'l have to wait for that one.
Im also working on a list for the simplex codes but as there are so many permutations im re-ordering that in order of most likely first. Its going to take a while but will be well worth it.
NOTE: This has been abandoned upon discovering alternative bypass techniques!
A while back i sat down with a Gerda high security deadlock to see if i could pick it open.
Alas i was beaten... just couldnt seem to set all the pins although im sure it is possible.
I needed to find a way around this lock so dismantled it in order to understand the workings.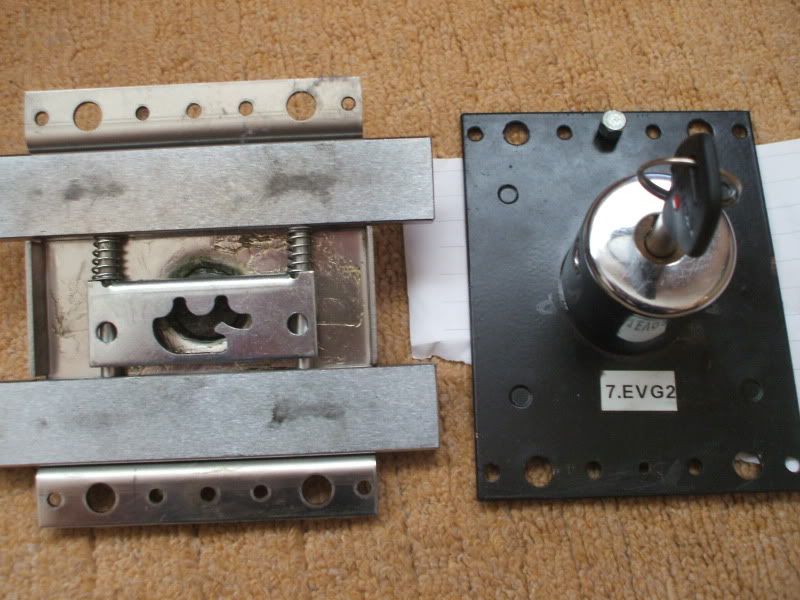
The back of the lock cylinder is attatched to a cam: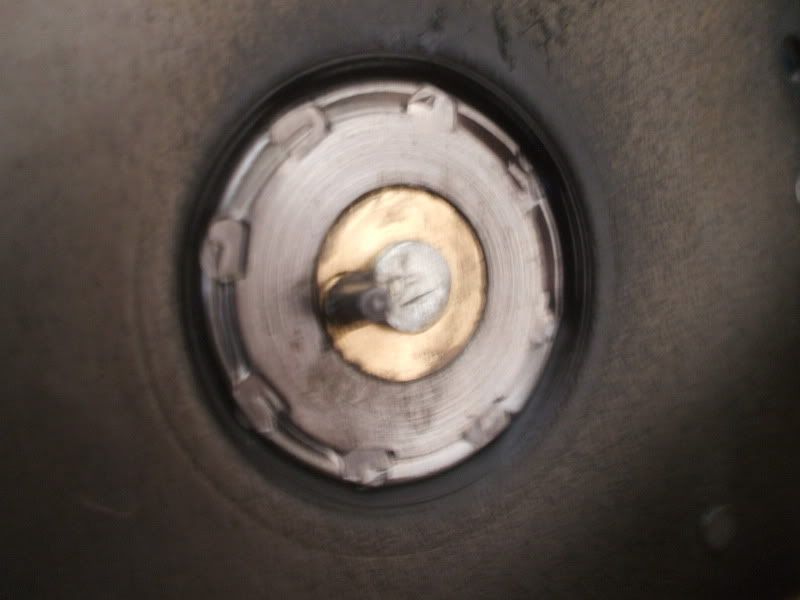
Once turned this cam lifts and slides the lock bolts via this spring loaded plate mechanism: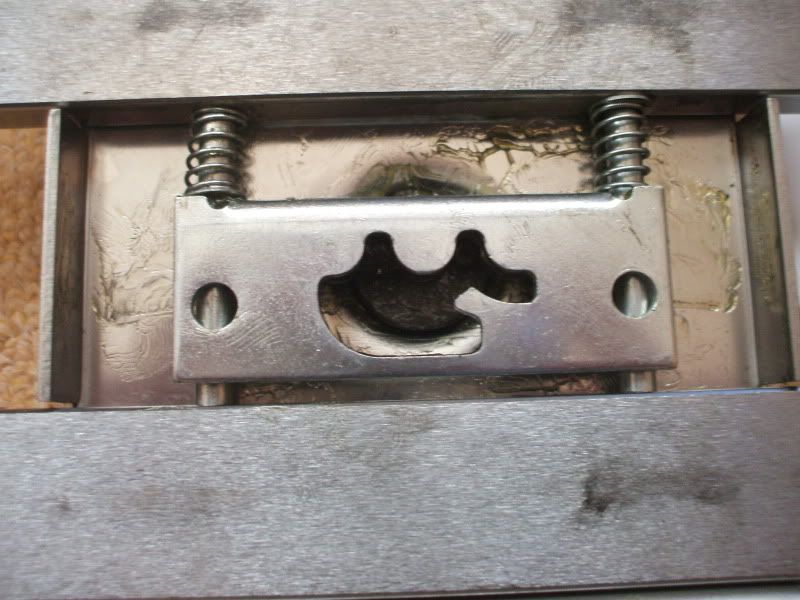
It just may be possible to bypass this lock if we can create entry to this plate, lift it (thus freeing the bolt) and then throwing the bolt back.
The ideal drill points to achieve such a bypass would be either side of the gerda cylinder angled inwards as to reach behind it.
It would require two separate lifts at each end as each end is spring loaded and ideally a thrid tool to move the bolt.
This would require the anti-drill excutcheon to be removed but often they arent secured properly anyway.
Note that this lock has a double bolt throw so the action may need to be repeated twice.
As of yet this is an untested method as id borrowed this lock from a fellow locksmith in Wolverhampton. As soon as i get my hands on another, its on like donkeykong!
A while ago i purchased one of those foil impressioning kits for dimple locks from UK bump keys.
I was really looking forward to having a play with this tool as a lot of videos had been circulating on the web.
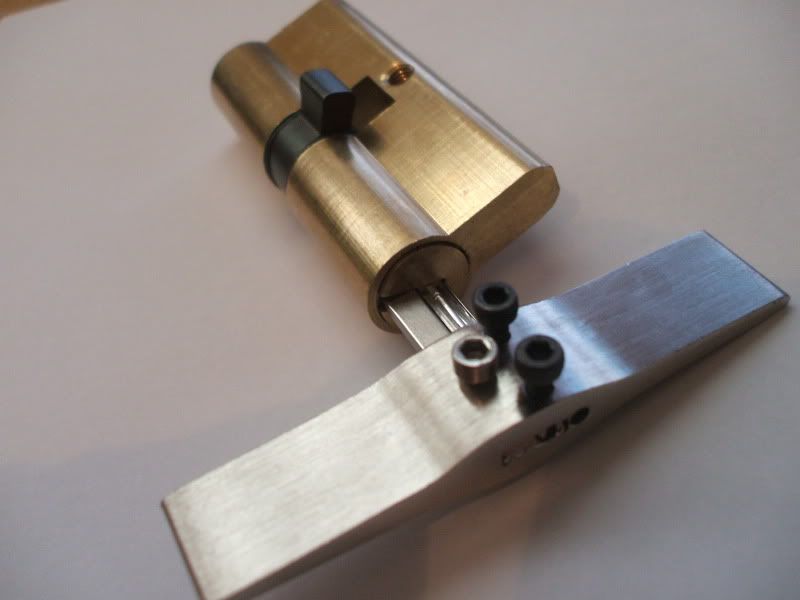
My first problem was finding a lock that the tool actual fit into. It was no good for mul-t-lock and in the end i managed to find a knockoff made by Wan & Jia (that is also rekeyable with a special key) that i could try it out on.
The foil preparation is pretty fiddly but a few attempts and i managed to prepare the perfect piece.
A few seconds of wiggling and the lock opened... hurrah!
BUT
It also snapped the blade of the tool, with virtually no tension i might add.
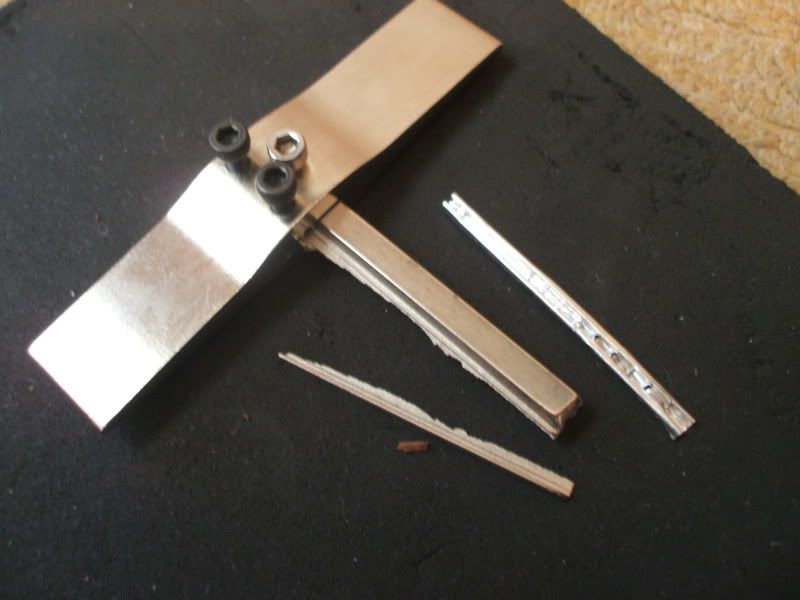
All in all not a bad design but not strong enough to be used on the job, plus you may never come across a lock that it will actually fit in unless you live in mainland China, so probably not worth the investment.
Bit dissappointed but i may be able to use the parts for something else.... like a mul-t-lock tool....
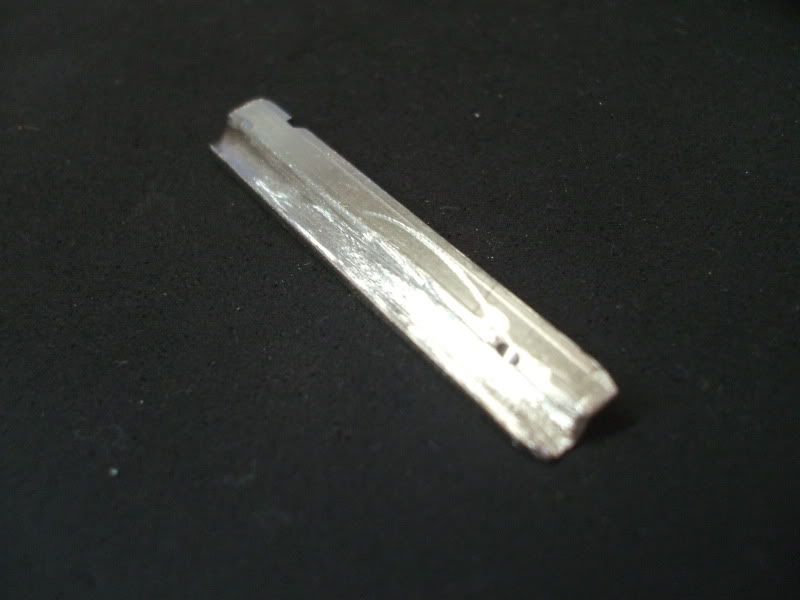
This one was made from a mul-t-lock garrison blade and has yet to work for me. Its hardly precision engineering i just went at the key with a dremel for a while and im guessing i havent cut quite deep enough for the low sitting pins to rest.
Has anyone foil impressioned a garrison yet? Let me know!
Its quite common in this weather that uPVC doors swell up, mechanism starts going stiff and eventually the user forces the handle and breaks the spindle in the backbox.
These can be a complete nightmare to open if you arent equiped with the right tools.
My father in law is a council locksmith and encountered this problem quite often so decided to sit down and design a tool for opening them.
And here it is: The bent screwdriver

firstly you will need to remove the cylinder from the door, preferably from the inside to make life easier.
This now gives you access the the multipoint locking rail.
Inserting the tool into the lower corner of the lock case will usually put you directly under the rail and allow bypassing of the spindle mechanism.
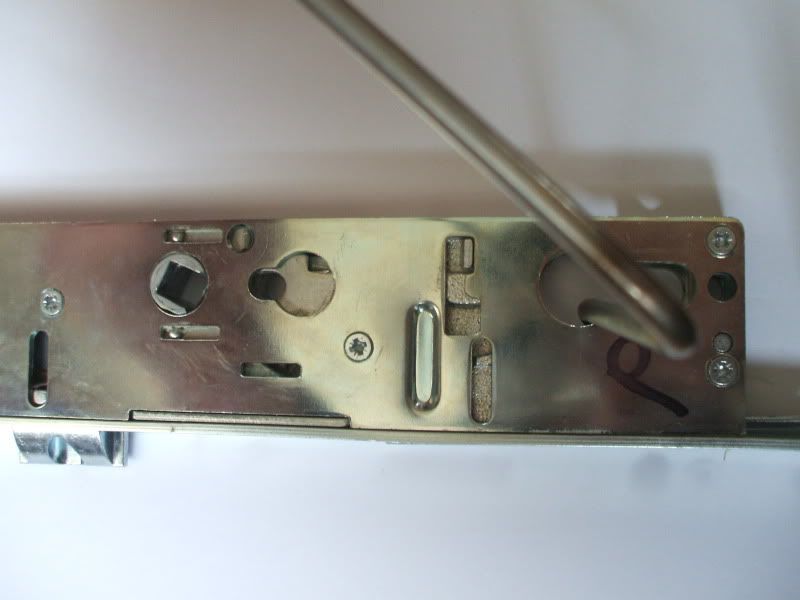
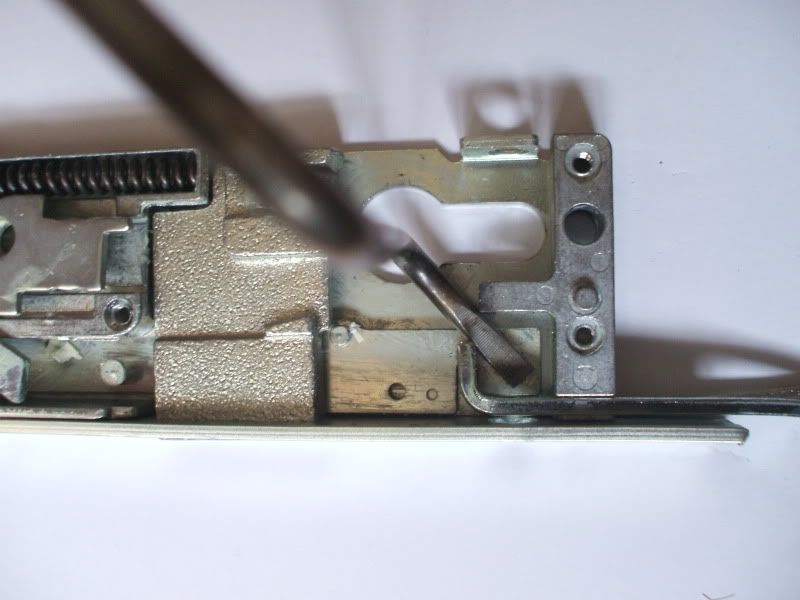
Rotating the tool will push the rail upwards and retract all the hooks and rollers in the door. This may require a little more force on some occassions where a roller may have gone the wrong side of its keep or the mech is very rough and stiff.
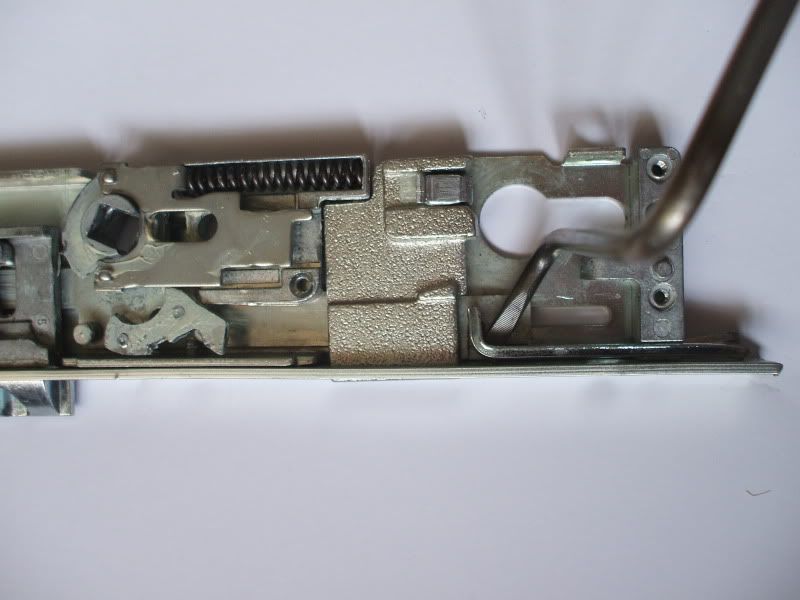
...and once its all unlocked the usual mica or airbag will be enough just to pop the latch.
Heres a quick 'one handed' video demo i made.
Iv just returned from a nice early morning property reposession.
Today it was a butchers shop and i really wasnt looking forward to this one, id already met up with the tenant who was an absolute nutter so we figured it would be best to do this one early before he shows up.
It seems he knew we were coming and after quickly gaining entry I sheepishly poked my head round the door to see what was in store.
Immediately i was hit by the foul smell ... old meat had been left in the back room and was festering nicely, flies buzzing around all over the place. It really was a stomache wrencher...
There were plenty of grusome looking knives lying around too, very intimidating... There was also a narrow dark room at the back with quiet music playing, but there was NO WAY i was going in there, thats not in the job description.
It takes a real animal to leave this mess and i hope the guy gets his just desserts. Its a shame you cant get a court order forcing them to clean up thier own mess... im just glad i dont have to do it
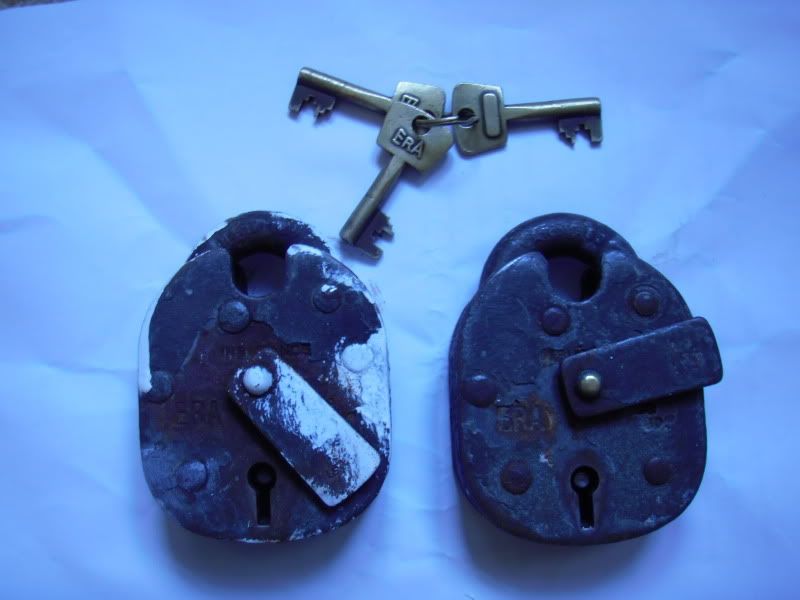
On a brighter note, i gained a nice pair of keyed alike ERA padlocks to play with once i clean all the e-coli from them.
Please spare five minutes and take a look at Pat's website:
http://www.locksmith-in-worthing.co.uk
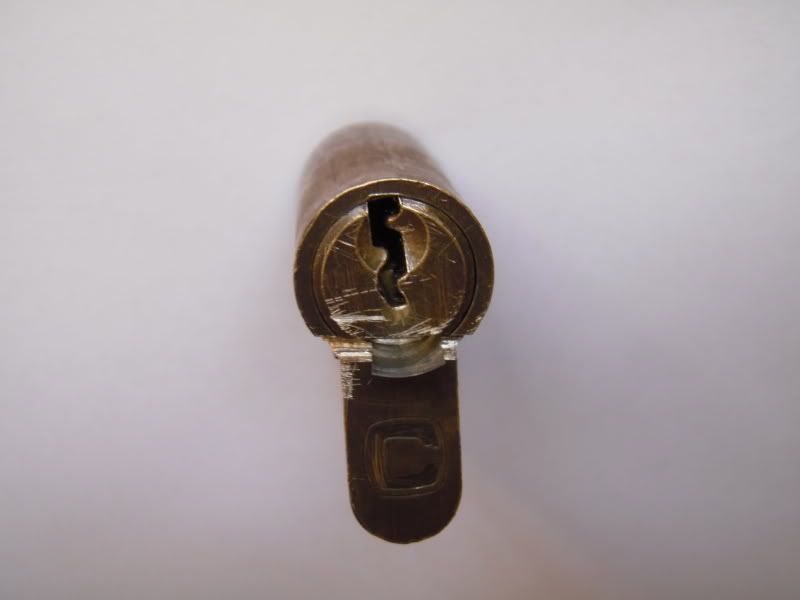
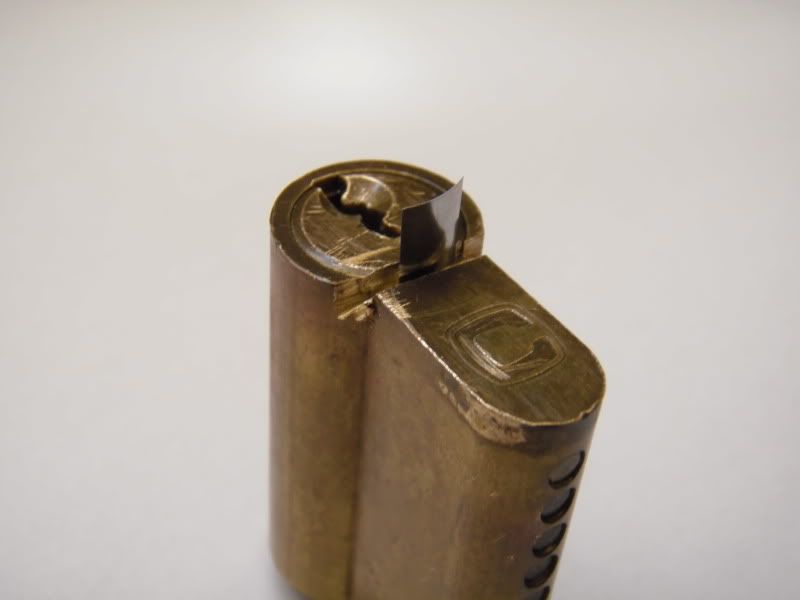
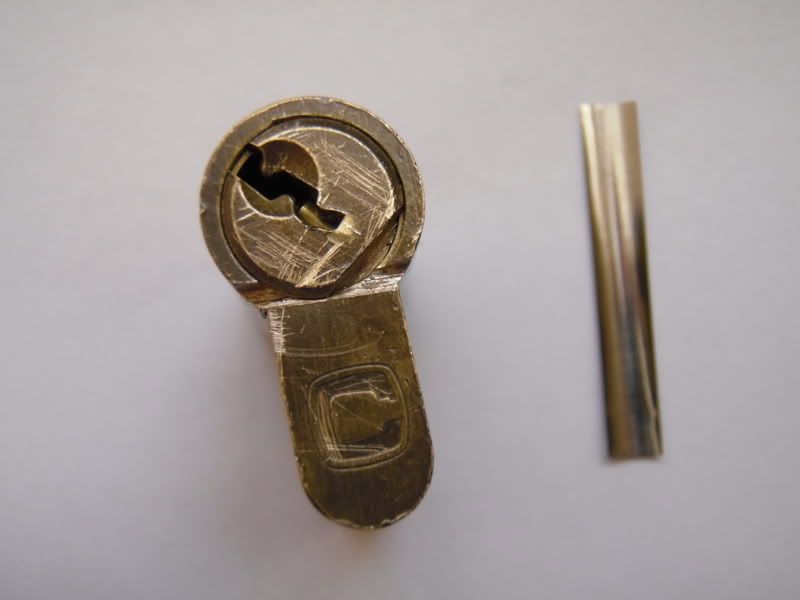
I popped in my local lock supplier a few weeks back and was shown a new euro profile lock called the Magnum (*RIP see bottom of page) donning an additional millenco sticker.
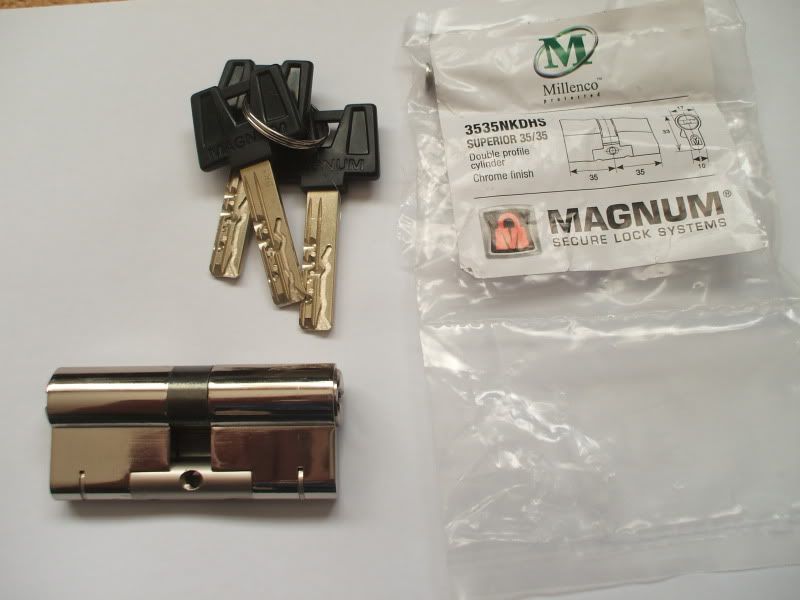
Obviously a little money £££ exchanged hands and the lock was mine.
The cylinder itself, called the ''superior', consists of a 7 pin offset pinned plug with an additional 4 spring loaded wafer tumblers interacting with a sidebar.
The lock uses a machined steel spine to prevent snapping of the cylinder and is by far the best anti-snap design i have seen.
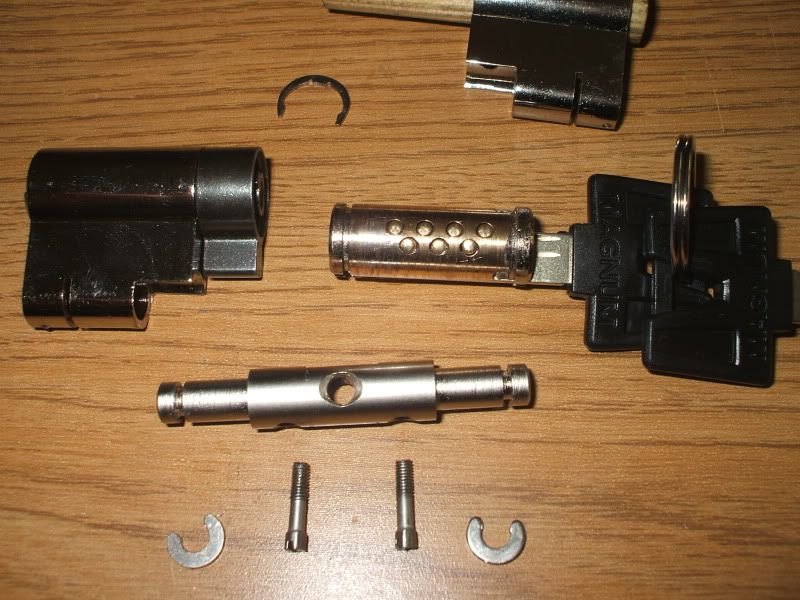
Initially this lock was a struggle to pick! I sent it off to Femurat; a hobbiest in Italy, who gave me some good tips on picking the lock.
The lock suffers the same flaw as the pin in pin cylinders whereby there is a small degree of plug rotation once one element of the lock has been picked, in this case the seven pins.
Once you have this initial rotation and the seven pins are set you need to set the sidebar. Picking the sidebar sliders individually is a nightmare and a little frustrating. However whilst experimenting i discovered a major flaw that renders the sidebar useless.
Using the handle of a tension wrench it is possible to overlift the sliders into place.
What was initially a ten to fifteen minute picking session suddenly became seconds (with the aid of the trusty klom gun) and another lock was conquered.
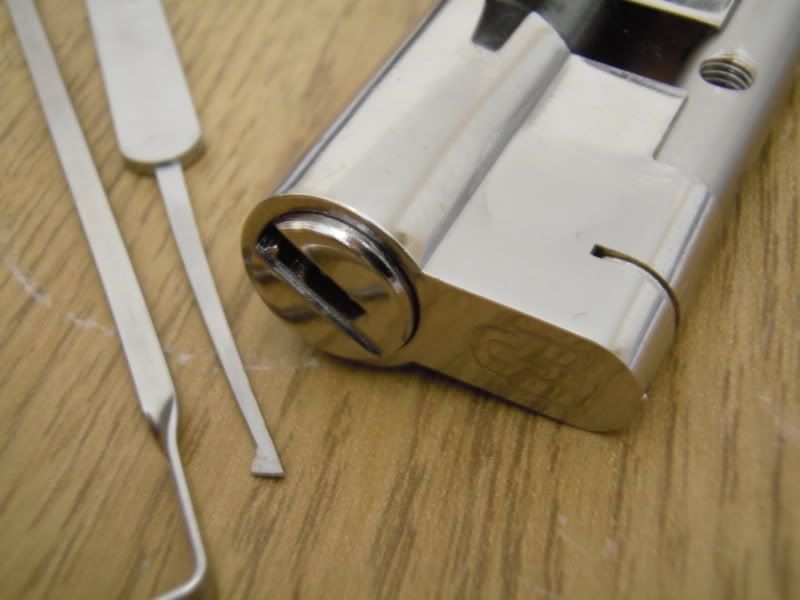
Although it seems the lock is easilly pickable it does however provide outstanding destructive resistance.
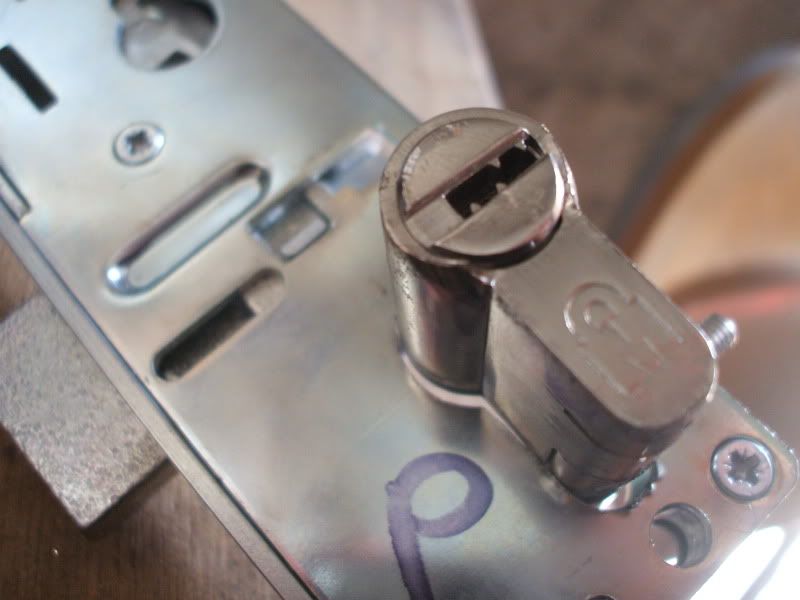
Setting up the lock in an in door scenario, i decide to have a go at snapping the cylinder off.
Initially i only used the end 5mm of lock cylinder which quickly rounded off and crushed the end of the plug.
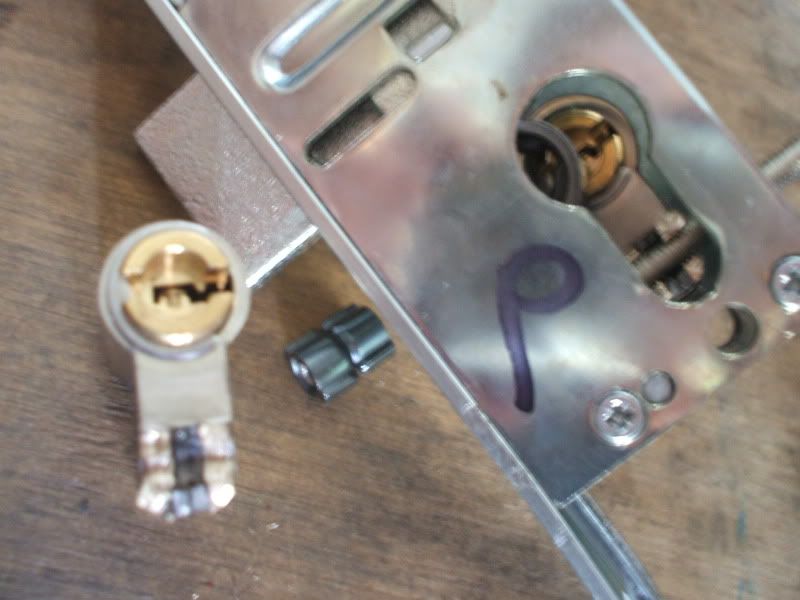
Then using the entire depth of the snapper bar still failed to budge the lock.
A similar test on an Ingersoll London Line cylinder shows the difference in resistance.
Magnum seem to make some interesting locks that i would love to get my hands on in particular the half moon cylinders.
It would be great if millenco started supplying these to all their new doors although i suspect obtaining new keys would be pretty pricey.
All in all not a bad lock to have in your door.
*UPDATE Nov 2014
Since this post was made Magnum have vanished and the locks are now branded as Yale Superior instead of the Millenco Magnum.
The telescopic pin system has been around a while and mainly used by the mul-t-lock brand although there are others such as the avocet abs that use the same design combined with a magnetic pin element.
They are generally considered high security locks and require special tools to open, however i have found that these locks with a little practice will open just as easilly with the correct half diamond pick.
My weapon of choice is the larger half diamond found in the southord pick set.
Resting the flat edge of the pick in the narrowest corner of the keyway should place the tip of your hook directly above the pinstacks and all thats needed to set them is a slight rotation of the pick ensuring the flat edge remains in that corner of the keyway.
Combined with featherlight tension you can open these locks in a few minutes.
Note: the avocet abs requires a small section of fridge magnet to lift the magnetic pin, although the same can be achieved by magnetising the pick blade itself.
Here a few i did earlier:
Rick - Walsall Locksmiths
