Topic: Bypassing
Looking through some of my old pictures I came across a few i took whilst experimenting with drilling certain locks.
First
A method you can use to open the Kaba dimple cylinders:
The Kaba cylinders consist of a self contained unit housed in the lock body. This is held in by a hard steel grub screw. (This is usually sealed over with a resin)
Once that is removed the whole unit will turn, regardless of being picked or not.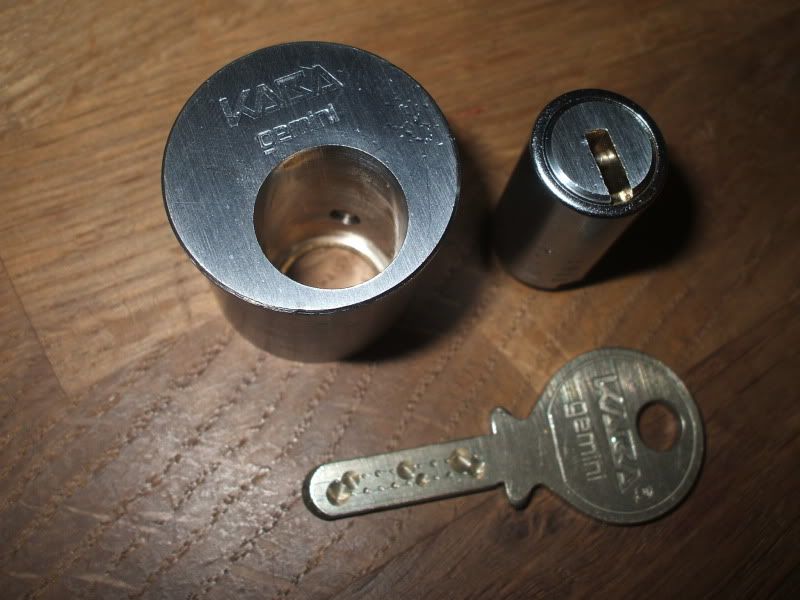
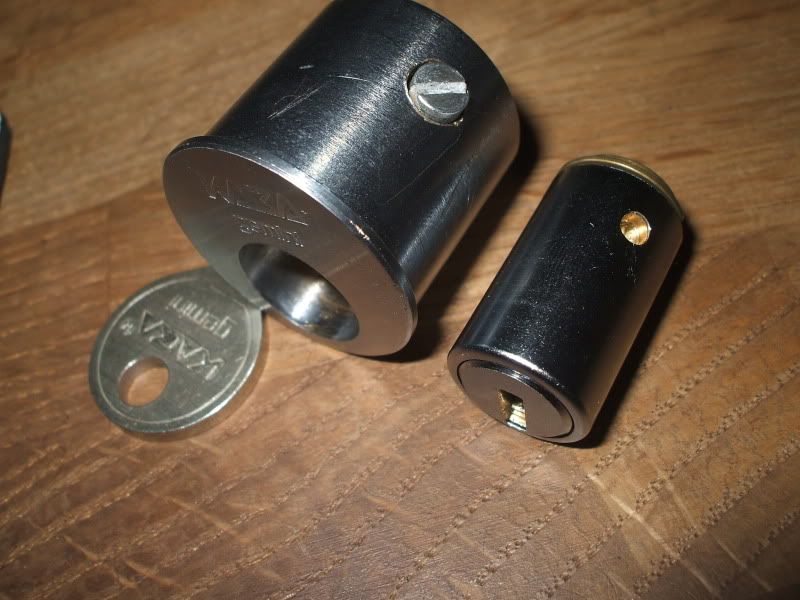
As you can see above, the grub screw in a traditional shaped cylinder is located at approx 45 degrees clockwise. In a euro/oval profile the grub screw is directly beneath the plug.
You will need a hard plate drill or two to break the grub screw as its hard grade steel, drill using slow drill speed with plenty of force!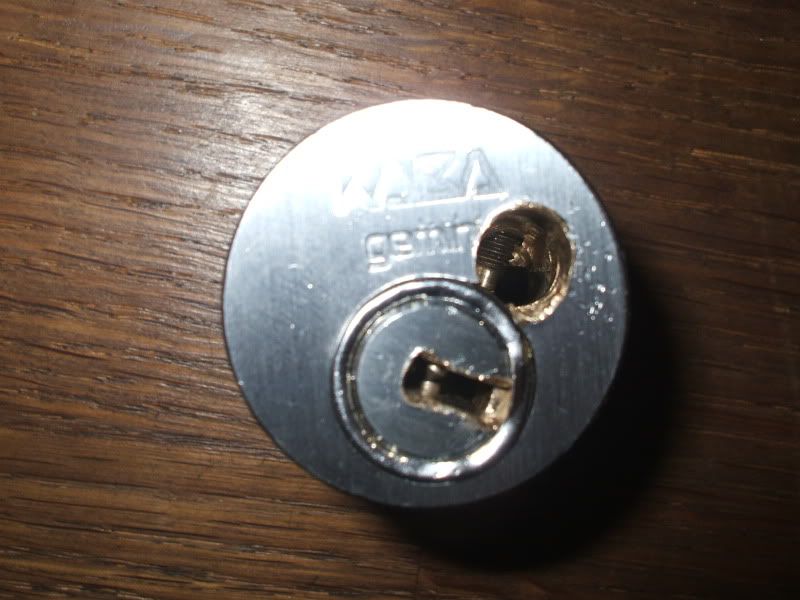
Once the grub screw is out of the picture the lock can be opened with a flat blade screwdriver. It may take a little force as the end of the grub screw may remain in tact but will fall loose quite easilly.
Proof that it works: A jammed/broken key situation, it required a little drilling in the keyway just to make room for the screwdriver blade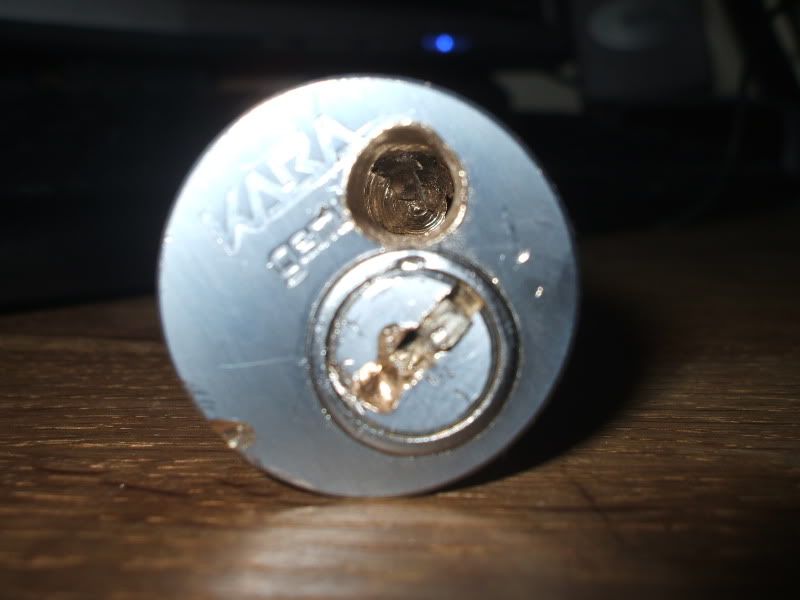
---------------------------
Secondly
A relative; a locksmith for a large gaming firm gave me a few abloy knockoff cam locks a while back to see if there was a better way to open them quickly, without running a huge drill down the center and ripping out the guts.
As most rear tensioning disk detainers these little locks were almost impossible to pick so a neat destructive bypass technique was needed.
I decided the best method would be to locate the sidebar position, drill a small 1/8th hole and remove from the lock.
After dismantling the lock i located the sidebar:
I assembled the lock and tested the method with great results!
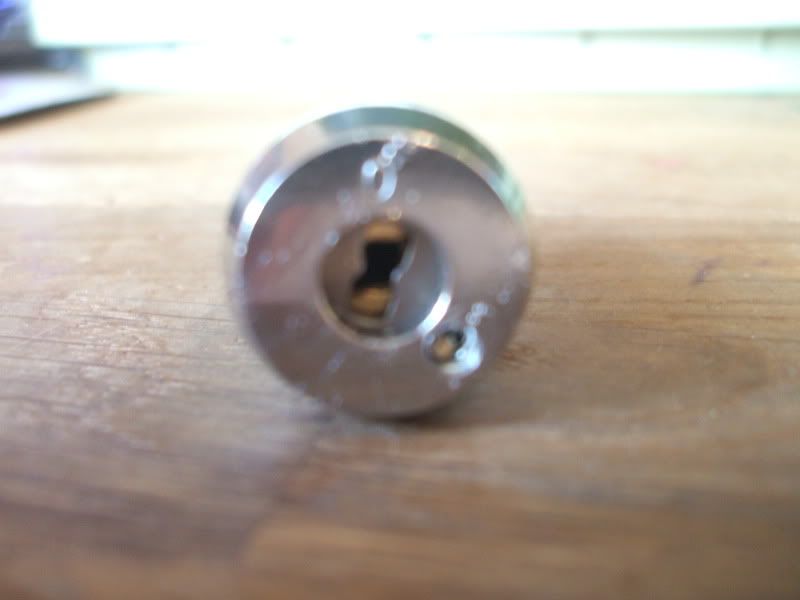
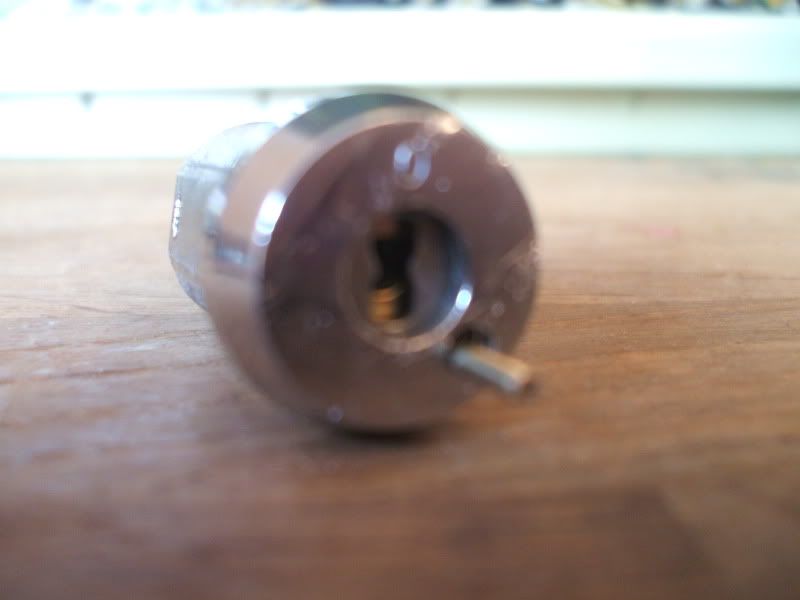
Once your sidebar is aligned, spray a little WD40 in the hole to remove any thick grease that will hold the bar in and then tap gently with the end of your screwdriver or bump hammer to free the sidebar, it should literally fall out!
Of course this method will only work on the cheap disk detainer locks. More expensive counterparts will have an L shaped sidebar to prevent such an attack and also come with hard steel fronts to prevent an easy drilling attack.
Rick | Walsall Locksmith
Updated: Monday, 9 November 2015 3:45 PM GMT
Post Comment | Permalink | Share This Post
